
I am often tempted to start these decor blog posts with the words "I wanted a . . ." which would be perfectly appropriate in this case (as in every other). A year ago, the family and I were out for a drive when I spotted the below porch swing in the front yard of a house along the highway--and I wanted it. Badly. So badly, I quickly became obsessed.
 I adored its gothic cut-outs, its Victorian gingerbread house trim and other architectural details. I had to have one and the moment we arrived home, I immediately began an internet search, a desperate hunt, a haunted chase after this elusive porch swing. But it was not to be--not on eBay, not on Craig's list, not on any online store (though I could possibly have had one made--if I was willing to pay upwards of $500 for it). I looked in brick and mortar stores, as well, antique stores and architectural salvage stores but after nearly a year of hunting, I never found anything that came close. Then, one day, as I was gazing out into my back garden where I had placed my old dining room chairs which I no longer had a need for, I had an idea . . .
  No, they wouldn't make a swing (I don't have a place to hang one, anyway) and they aren't nearly as delicate as the bench of my dreams but they did have curves, they did have gothic arches and cut outs and lots of architectural details. Though they weren't as perfect as the swing that had been haunting me for so long, they would do.
This pair of chairs used to be a foursome but two of them gave up the ghost quite some time ago. I did have the foresight to save some of the curvy legs (one never knows when one might need some curvy chair legs) and the insert from the back of one of them. I spent two months just staring at those chairs and conjuring a way to make them into a bench. And then, one night when The Spouse was away and I was attempting to refrain from eating my way out of my lonliness (we're pretty attached, The Spouse and I) I brought the chairs inside and began to work.
 I knew I had to find a way to attach the the frameless insert to the frame of the chair on either side. Lacking tools and knowledge and insight, I decided to simply start drilling holes until I had an area large enough for the wooden tab on either side of the insert.
 This photo, though fuzzy, as it was taken whilst I was drilling (never the best idea) shows how I began to develop a narrow, rectangular hole to insert the tab shown below. The below photo demonstrates how it was needful to shorten the wooden tab so that it fit into the opening without pushing the tab of the insert on the other side out of place.
  Taking a rest from that, I removed the seats from the chairs. This is an easy task as the seats of most old chairs are held in place with screws.
  Again, kind of fuzzy but still way better than the photos I let my 8 year old take of this project (those are coming up).
 The above photo shows how I filled the cavity with glue--I used Liquid Nails or something like that. Use lots of it (er, assuming you choose to attempt a project like this, yourself).
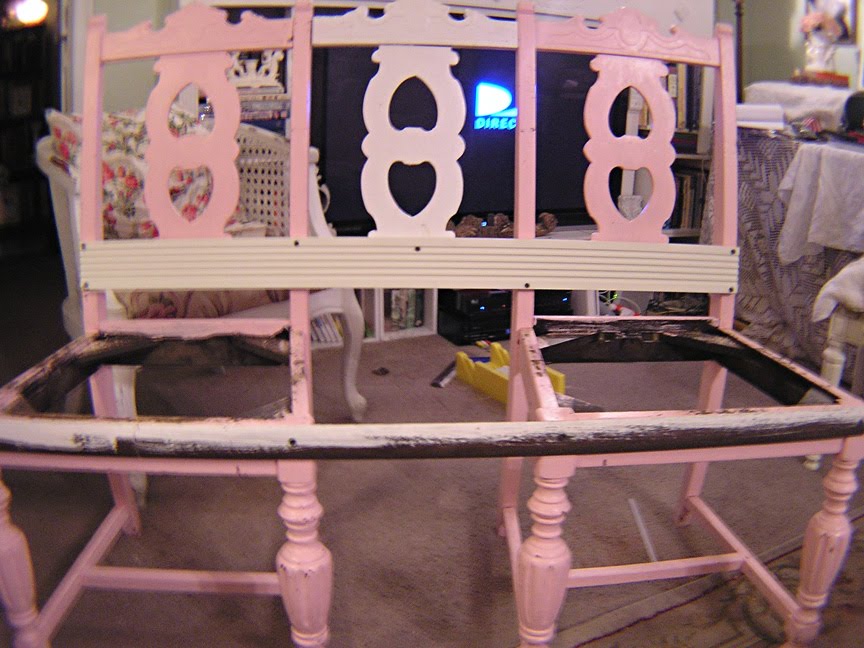
 The above photo shows the exta insert from the back of a third chair attached to the two full chairs by inserting the wooden tab into the holes I made on the inside frame of each chair. I then knew that I had to make sure the chairs stayed together and all going in the right direction at the right angle so the glue could dry while the chairs were all in the right position. So, I went out to the garage and found left-overs from other projects. The brown piece in the front used to be the top of the antique headboard we used to build our fireplace (click here to see how that turned out) and the one in the back was left over from the kitchen window trim project (see here). I must say that long and wickedly ridged drywall screws are very easy to drive through almost anything if you have an electric screwdriver. (I love my electric screwdriver.) (Love. It.)
 Once the chairs were securely attached and I felt confident the pieces were all in the right places, I used wood fill for all the little gaps. This brand of wood fill starts out flourescent pink and dries to white, at which time you know it is ready to be sanded.
But first, I needed arms. I had intended to use my extra pair of chair legs for the arms but knew it required a lot of sawing through thick wood so decided to use a different pair of table legs I acquired I know not where/when but have been storing and tripping over on a regular basis in the garage for years. Now they are safely attached (via screws) to the bench and I have to say, I like them there much better than beneath my heedless feet.
 I then brought my chairs-turned-bench out to the garage to be sanded (I probably should have done the whole project there but I like my carpeted living room floor better--thank goodness for vacuum cleaners) and spray painted. Once I had a base coat of spray paint on it, I painted the whole thing with several coats of high gloss paint to help protect it from the weather (though I plan to bring it in once the rain starts--not all wood is meant to endure the wet).
A few days later, The Spouse helped me cut a piece of beadboard left over from the bathroom project (see last post) with the electric saw (I don't do electric saws) to fit the seat area, and my obsession could finally take a rest.  Even though I haven't yet painted the edge of the beadboard seat, I quite adore it and find it a very comfortable place to sit and sip a glass of cold lemonade.
 To see more garden photos, click HERE.

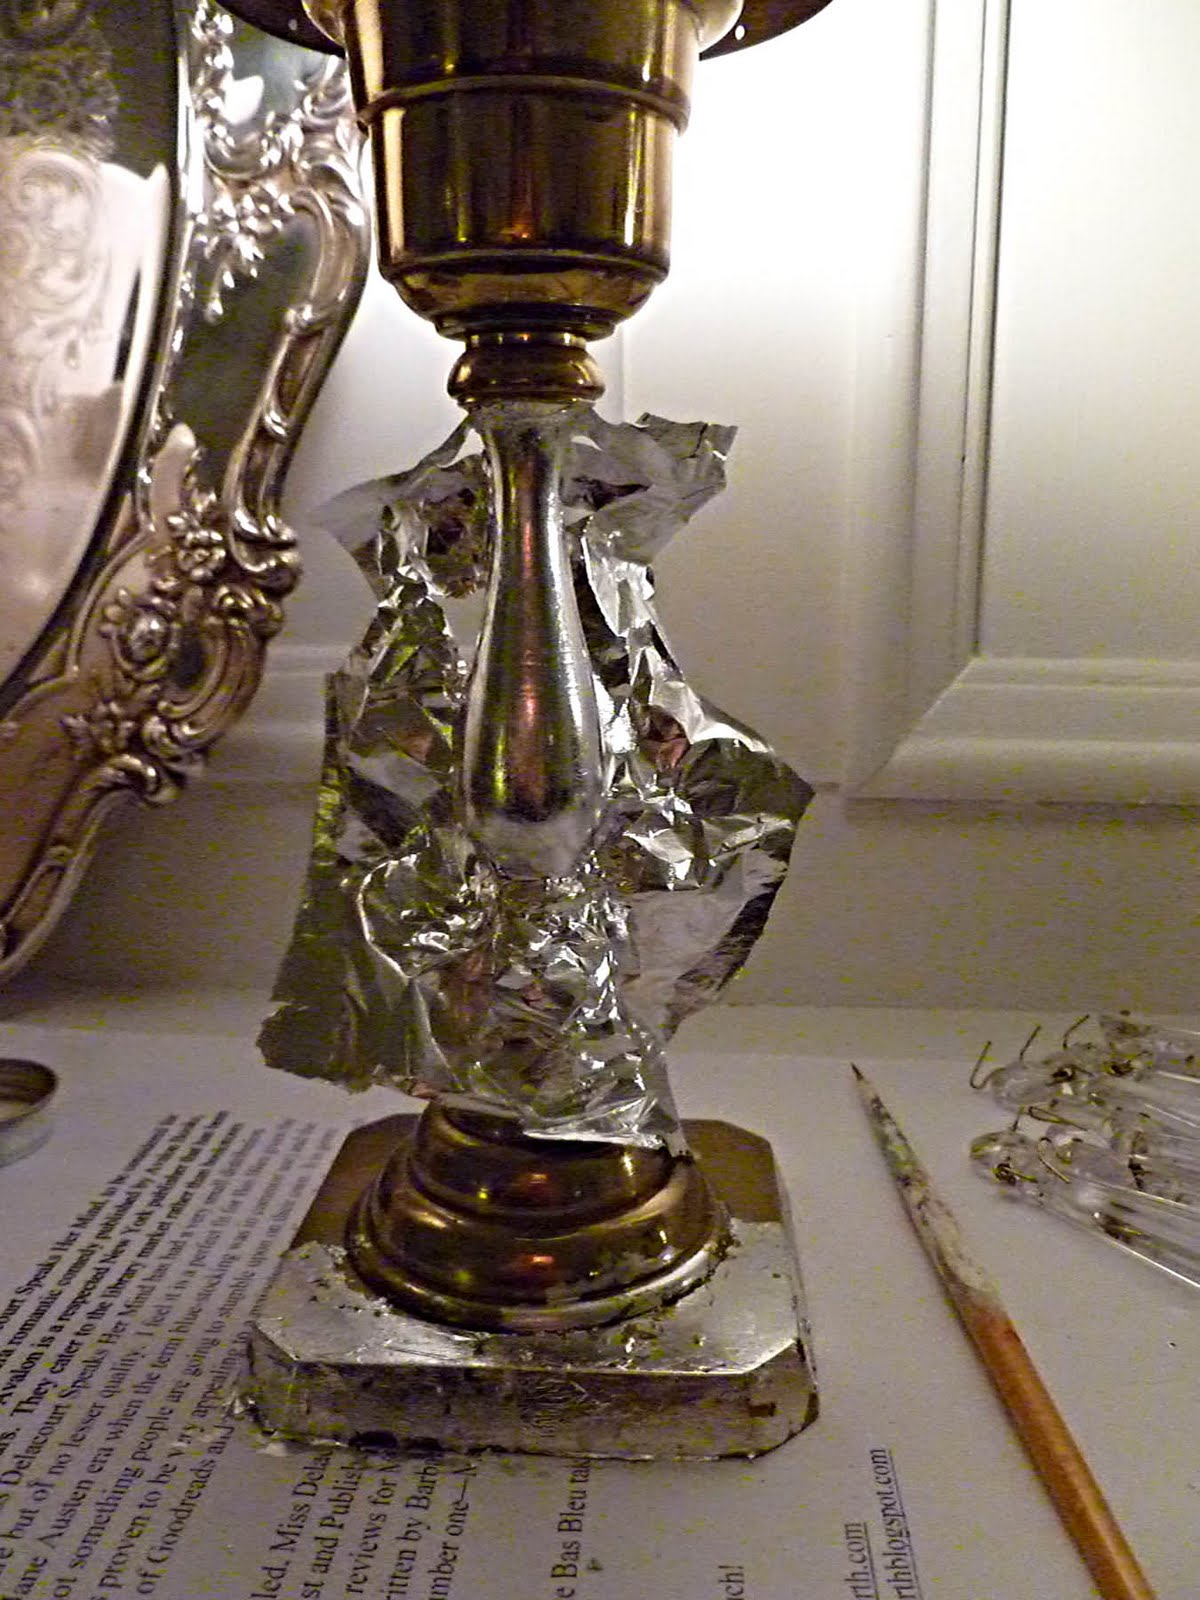
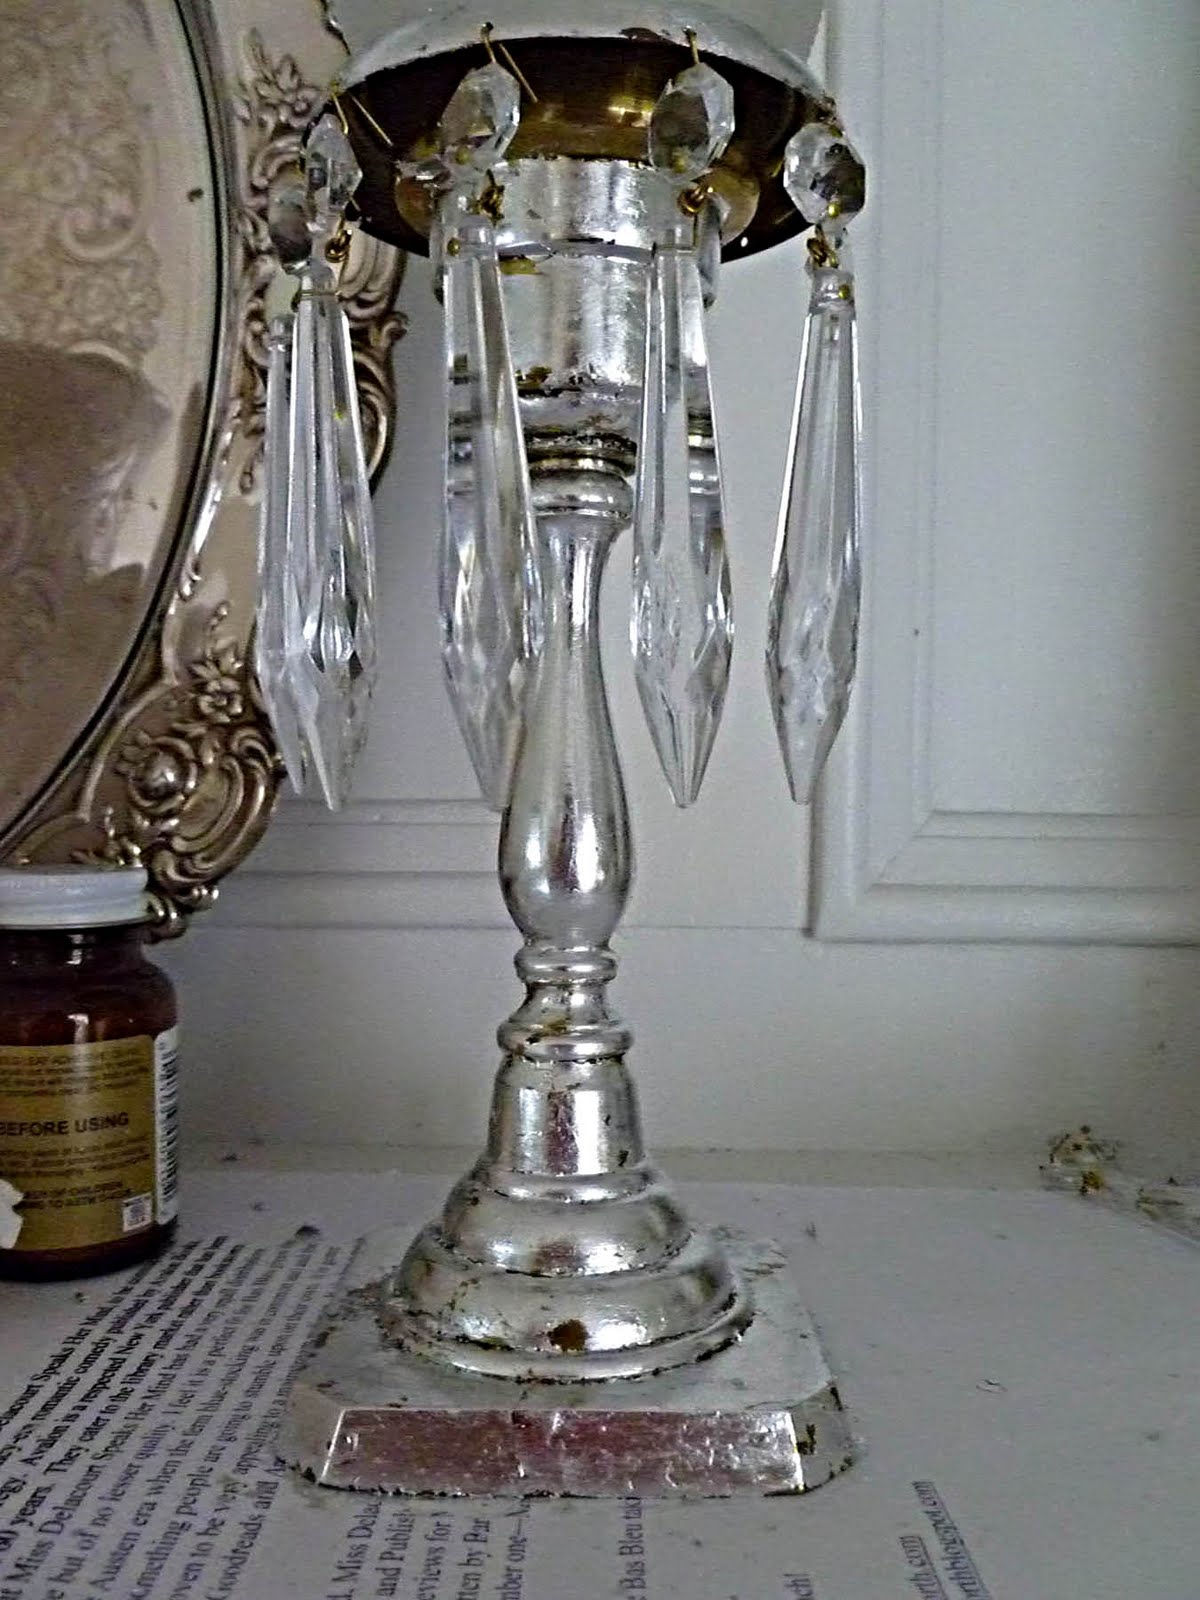
 Christmas is here so it is time to say goodbye to all the pink and white and warm things up for the winter. Yet, I've been dreaming of a white Christmas, so I decided to gather all my thrift store bits and pieces of silver and silverplate and gather them all in one place. My fireplace mantel is now a winter wonderland with a few hits of pink and green. I love it!


