


 I loved my pretty white Christmas tree in the window so much, I decided to leave it up as a Valentine's tree. Love. It brightens up a corner that stays fairly dark through the winter months. Come true spring, this corner will be lighted the natural way.
  I have yet to get out the rest of my Valentine's decor (just two puny boxes-compared to 20 totes for Christmas--clearly I need to beef up) but since I already decorate with lots of pink, it's not a decor triage type of situation.
 It was last February, (or maybe the one before?) that I put the finishing touch on my dining bench. A piece of gold trim I had purchased 15 years ago in a little antique store in Southern California was the perfect note--once painted to match.
 The arms are corbels snagged at an architectural store in Santa Cruz California. The bench itself is just a plain piece that once lived in a snazzy restaurant in Carmel.
  The cushions that came with it were just the right size to squeeze into a bed size pillow sham in one of my all time favorite patterns--Old Country Roses by Laura Ashley. The twin quilt (flung from my daughter's bed when she was still a wee tot--she's a black, white and red kind of gal) covers is wrapped around the cushion on the seat and hangs down to the floor.
  Ever wonder how to turn a dark and cave-like office space into a warm and inviting home decor store? It hadn't been much on my mind, either, until the beginning of March when it was made known to me that there was a teeny-tiny retail office space available for rent. As soon as we got inside, I knew I could make it work--in spite of the mini blinds, interior windows, coffee brown and burgundy walls, all of which screamed "OFFICE!" This first picture is of the view from the inside out the front window (obscured by blinds until opening day).


 The below photo shows the fireplace mantel we bought to help cover the interior window that gave us a smashing view of the business next door. The mantel came from a house in Berkeley built in 1910. We were thrilled to get it.


 I love my pretty store but it is challenging to make things look the way I want them to using only the things available. It's a fun challenge, though, especially when I have a hole to fill because somebody bought something!


 Our Grand Opening Party was held about five days after we opened. The star of the show was the cards made from the painting titled Miss Delacourt's Roses by Jana Winters Parkin. I was thrilled to pieces to find a bouquet similar to the ones Jana used as inspiration for her painting.
  Dunhaven Place is located at the TJ Maxx shopping center at 4691-C Clayton Rd. in Concord at Bailey Rd. It features painted furniture, antiques, collectibles, holiday decor and handmade items by local artisans. You never know what new and wonderful item you will find at Dunhaven Place!
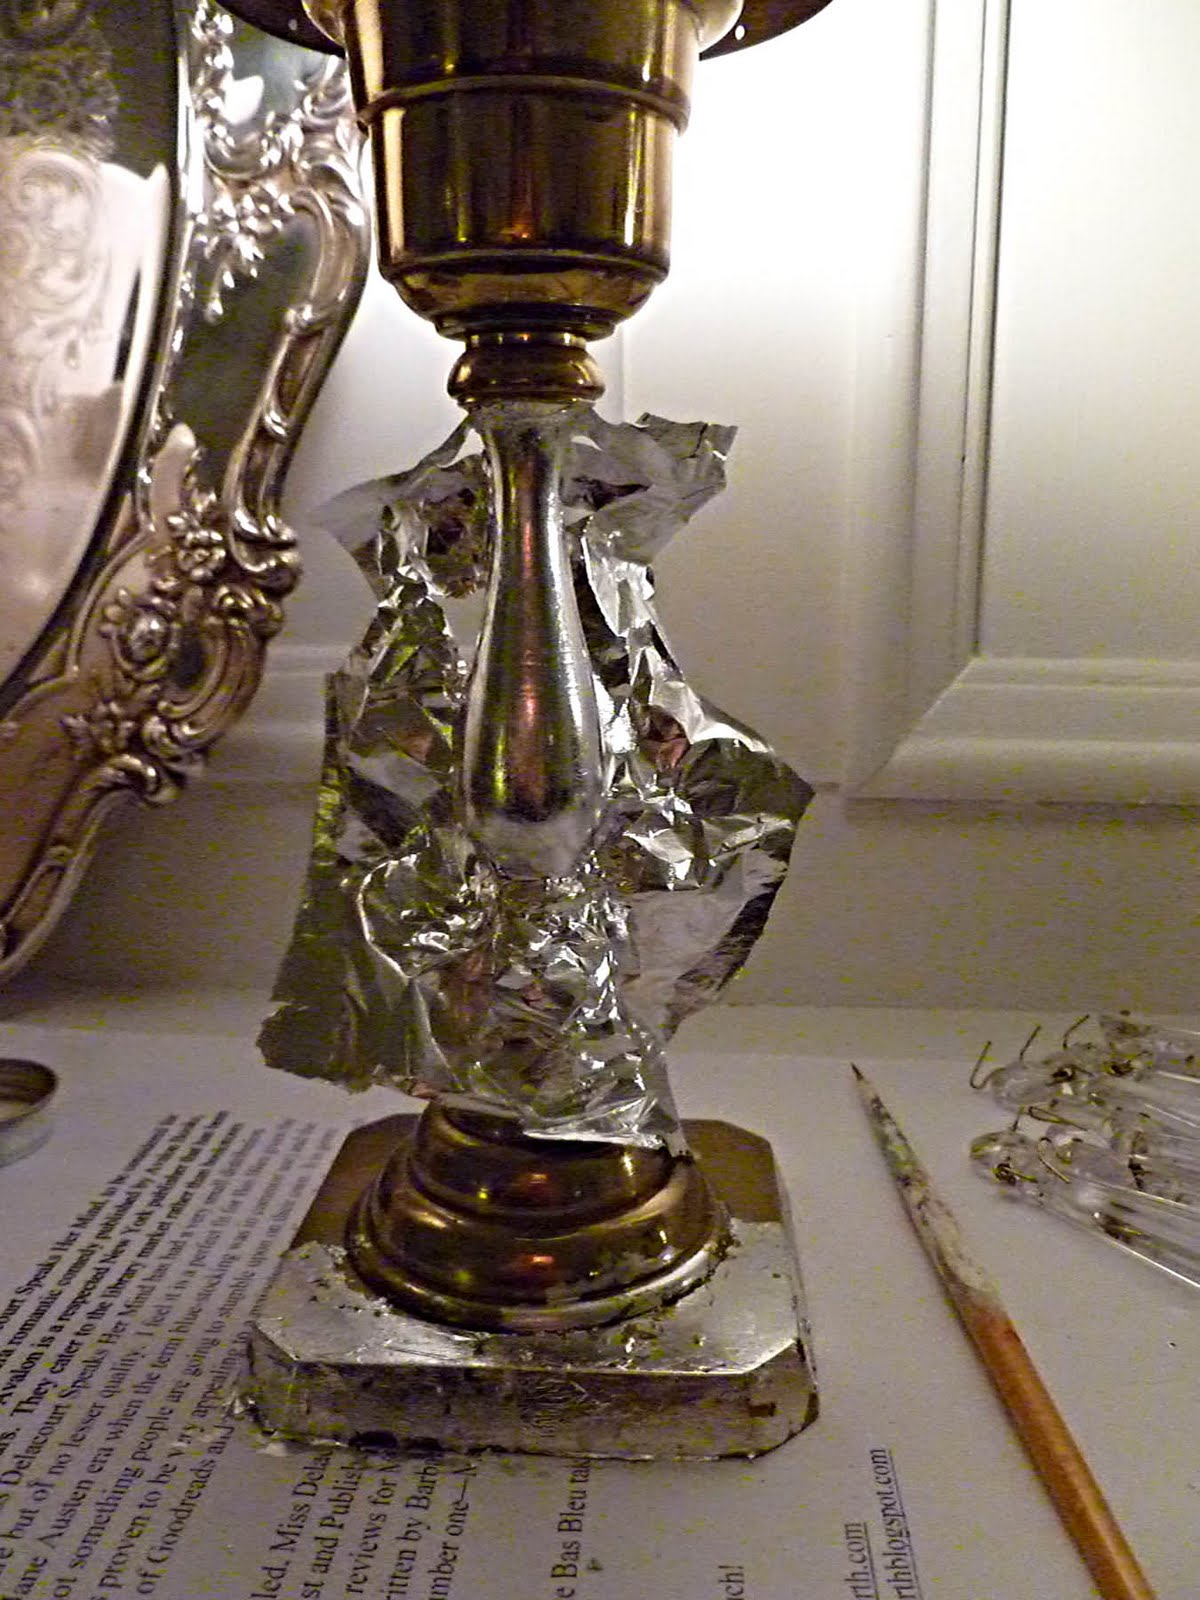
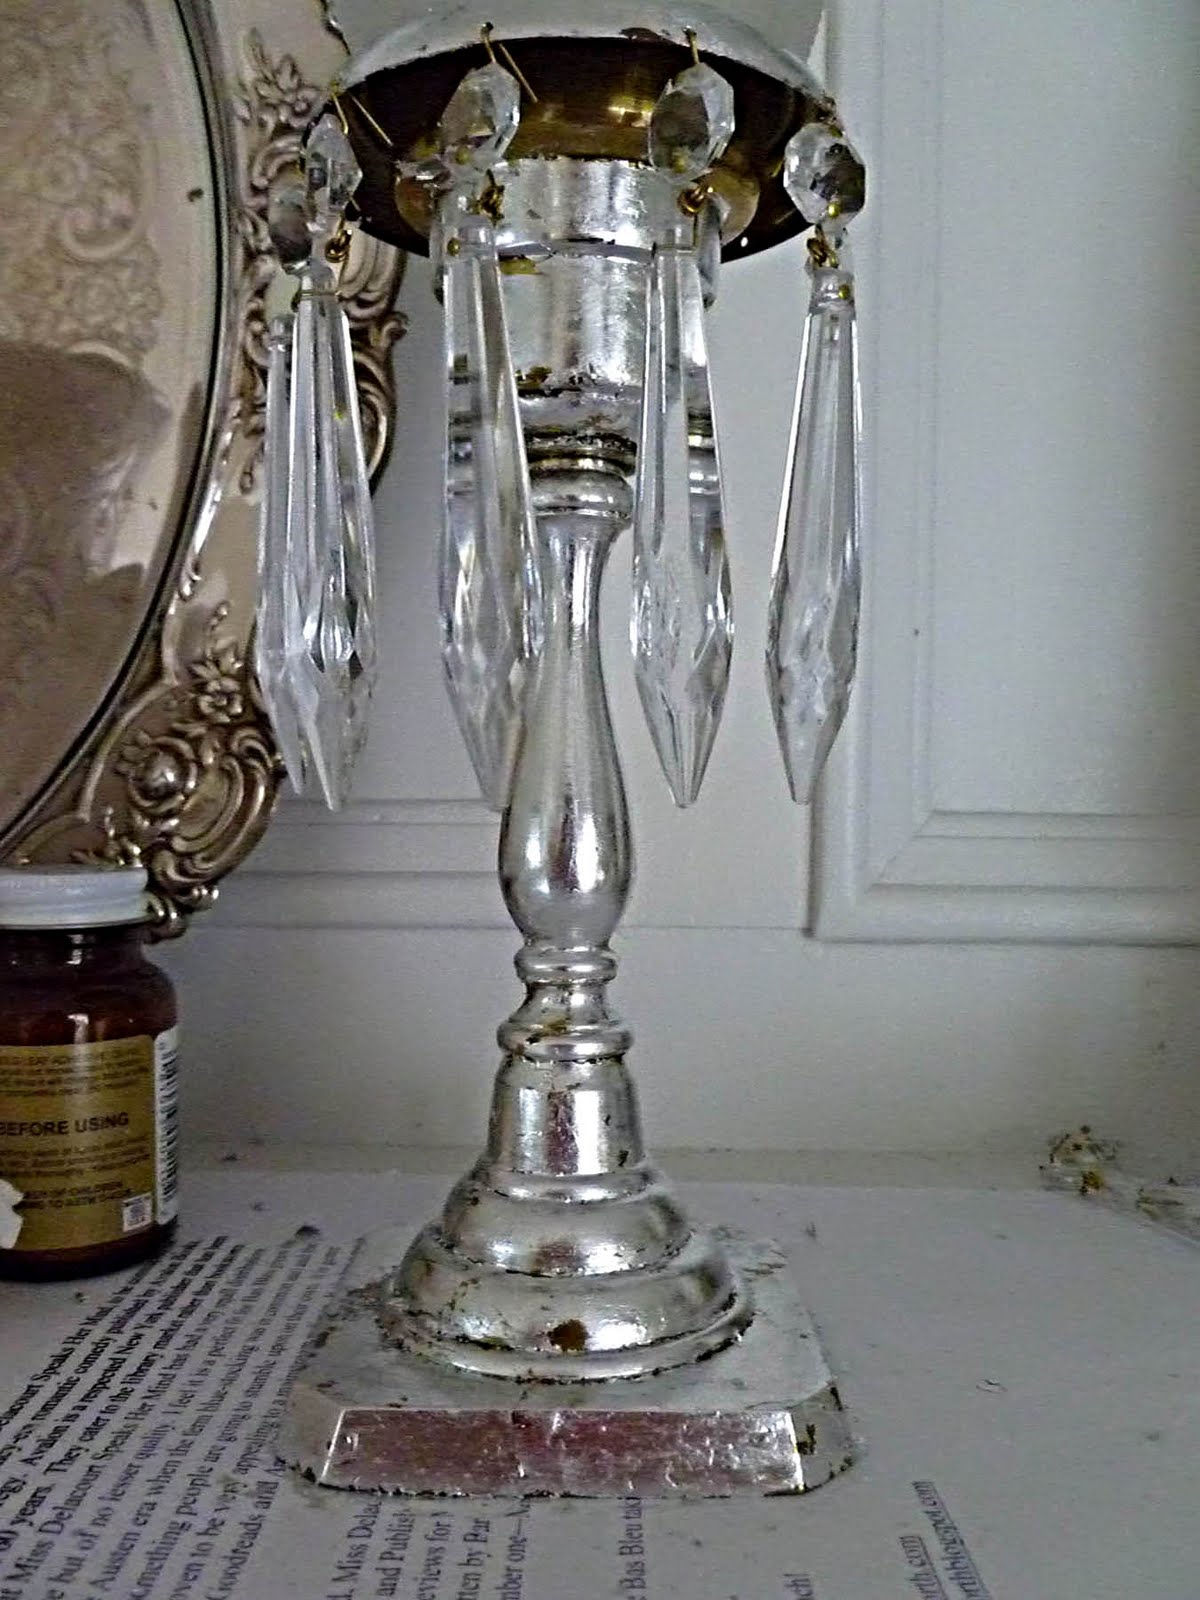
 Christmas is here so it is time to say goodbye to all the pink and white and warm things up for the winter. Yet, I've been dreaming of a white Christmas, so I decided to gather all my thrift store bits and pieces of silver and silverplate and gather them all in one place. My fireplace mantel is now a winter wonderland with a few hits of pink and green. I love it!


 Is holiday decor truly that important in the grand scheme of things? Not really. However. Our little family of five has moved often and often and most often have been renters, so the objects we surround ourselves with have taken on a bit of an importance. They make our house, whichever and wherever, our Home. Also, for me, it is one corner of my life I can control to a certain degree. This is important when one inhabits a wildly out of control life. Still. I'm not ordinarily terribly inspired by Thanksgiving decor--it just doesn't "go" with my light and bright interiors. For that reason, I hadn't planned on really making a post out of what I ended up with this year. However. A request to see it was made--so here it is.
 Many of the elements pictured here were used, to great effect (IMHO) in my Halloween decor (see previous post). It is always so fascinating to me to see how things take on different personalities when paired with something new. The family photo of the children in white no longer seem spectral but merely "antique" and the pumpkin that shouted "Halloween" now claims a star role in the Thanksgiving scheme of things.


 For those who long for light and bright, chic and shabby interiors, Halloween decor can be a bit daunting. How does one take something so lovely, not to mention pink, and turn it into something spooky and menacing? Take, for instance, the sweet bride doll that lives in my kitchen cabinet. Enclosed in a glass cloche with a skeleton to guard her amongst the cobwebs, she becomes the epitome of spooky and menacing.
  White is the picture of summer but it makes the perfect backdrop for changing seasons as can be seen in the photo below . . .


 The frame in this photo was purchased at a flea market for $2 as it is warped. I can't hang it on the wall but it makes for an interesting statement in this Halloween tableaux.
 What displays as a lovely summer green on the walls in proper lighting . . .
 . . . .glows an eerie Wicked-Witch-of-the-West-green in the candlelight.
  A corner of the bureau dressed in summer . . .
  . . . with a few switches and additions becomes a ghostly altar. Ancestor photos featuring children in white clothing and mustachioed men framed in black puts a whole new light on the previously sweet-looking garden statue.
  One of the easiest ways to make your light and bright interiors say "boo!" is to . . .
 . . . add some simple witches hats made out of black construction paper to your photos and artwork. Everybody looks good in a witch hat at Halloween!
 The darker, more Victorian-looking hallway here is easily made spooky . . .
 . . . with the addition of a few battery operated votive candles. (The glass-doored cabinet to the right of the photo below will be the subject of a later before and after post. Go HERE for a post on how I turned this landing from something ho-hum into the library I yearned for.)
 Another example of how removing a few things and adding a few others creates impact! (Click HERE to see how we made this cave of an entryway a thing of beauty.)
 The roses and white linen is removed and replaced with items that will stay until the end of winter. . . that is, with a "few" exceptions . . .
 Let's see that bat attack one more time. Before . . .
  . . . and after! Bat patterns are widely available on the internet. Trace onto black construction paper and cut them out while you are watching T.V.--then tape them anywhere and everywhere for a fun flock of festive fright! The addition to black shades on the chandelier help to add that eerie glow.
 Remember my kitchen window re-do this past spring? (see HERE for the before and after for the window project) As much as I adore the new look . . .
 . . .I wanted something a bit heavier for the cold months of the year. The black chandelier spends six months of the year outside and three or four months above my kitchen sink. It's just enough of a change to say "Halloween" without a lot of fuss.
 This metal sculpture is the perfect size to hide the flowery decor on the top of my fridge and adds a lot of sparkle, too.


